~ halloween prep: the queen spiders ~
other than the little spiders that carry candy in their egg-sacks, we’re also making two large spider queens to make our SPIDER’S LAIR more, well, spidery…
the idea is pretty simple. last year, we had the two ghosts. we replace the two ghosts with giant spiders made out of pretty much similar materials as the two ghosts.
for each spider, we needed:
- the paper lantern and the cable from last year’s halloween
- two smaller sized paper lanterns (we got them from IKEA)
- white corrugated plastic board (because that’s what we had laying around)
- 6 styrofoam balls for joints
- 12 balloon stick for the legs (you can use thick white straws too, if you want shorter legs)
- masking tape
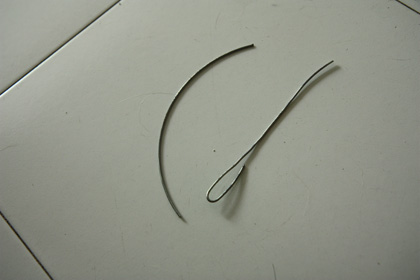
- wires
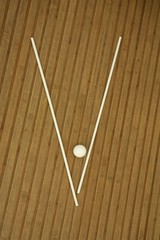
first, connect two balloon sticks to a styrofoam ball to form a leg. we use masking tape because it’s rather stretchy, and styrofoam balls because they’re light.

then connect 3 legs together using a piece of corrugated plastic board and some more masking tape.
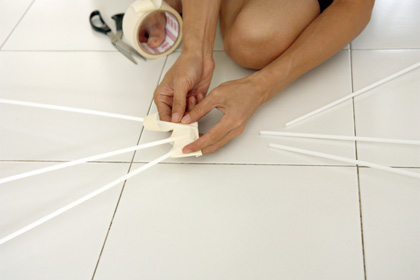
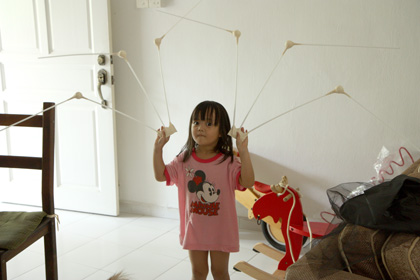
make another 3 legs in a similar mirrored arrangement to the first set, and then (using masking tape) connect both sets together with a rectangular piece of the corrugated plastic board to form the interior bridge of a spider queen’s torso.
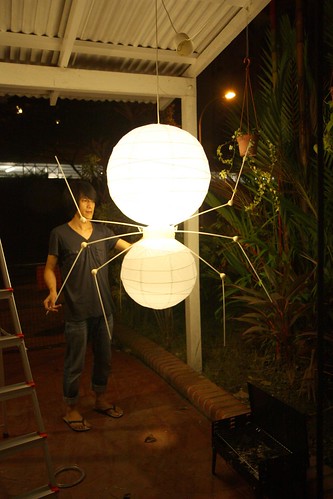
we want the spider queen to hang head down, so we attach the larger paper lantern to the lamp first to form the tail. underneath it, comes the torso - attached by a pair of wires to the bottom of the large lantern. but before we do that, we attach the torso to a smaller lantern first using the same pair of wires.
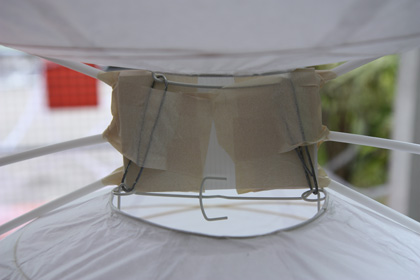
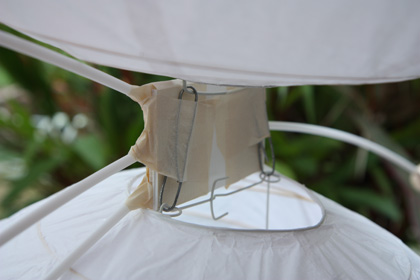
we cut a long strip of the corrugated plastic board and made several scores in equal distance from one another. bending it, we form a shallow cylinder. then we cut the cylinder in half to make a collar sandwiching the spider queen’s torso.
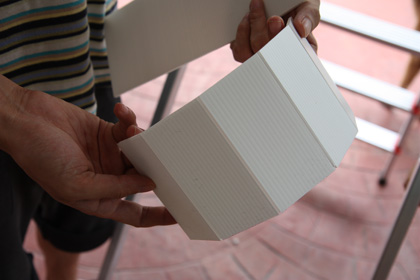

the tricky part is measuring the cylindrical collar’s depth and circumference so that the collar is big enough for covering the top hole of the little lantern and the bottom hole of the large lantern to prevent light leakage. we got the measurement right after the second try.
we use skinny strips of masking tape to hold the 2 collar pieces together and go between the 6 legs.
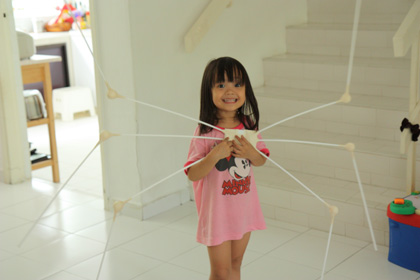
add fangs and eyes, and we’ve got a giant glowing paper spider.

once again repeat the steps above to make the second giant spider.
note: this entry was written parts by thalia, and parts by ari… thank you for helping me, hon!
~ comment (6) ~
Fantastico! And si mbak modelnya super imoet… :)
modelnya super bosen juga, hihihi. ga bisa ikutan bantuin, soalnya bikinnya ribet. jadi dia semangat banget kalo boleh begaya ama barangnya :P
yay! nongol juga entrynya.. baru prepnya, belom pas acaranya ya? heheh.. masih ditunggu!
btw, foto terakhir keren.. ada 2 queen spiders ama anak2 spidernya di bawah.. heheh..
iya nih, telat banget ya? moga2 ntar malem udah up cerita acaranya :D gue pinjem foto2 dari flickr elo ya shin.
wooowww….kereeennnnn ……
yuk, kapan2 halloween-an disini ma :D