~ DIY easter garland ~
it’s almost Easter, and Aina is having a term break for a week. so, when i saw Mindy’s post on twitter that she was making Easter Eggs garland, i thought it’s a perfect Easter craft for Aina to do.
so we went to get some printed papers at Art Friend nearby. originally Aina wanted to use pink or red ribbons, but they were too short for her window, so we ended up using the twine i have laying around.

what we needed:
- various patterned paper. you can design and print them yourself, if you feel like it,
- thicker cardboard paper for the template,
- pencil and eraser,
- yarn, ribbon or twine for hanging the bunting,
- scissors,
- and a hole puncher.
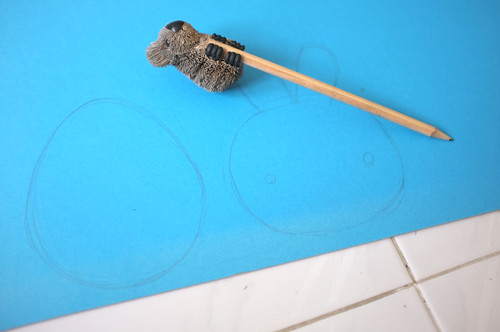
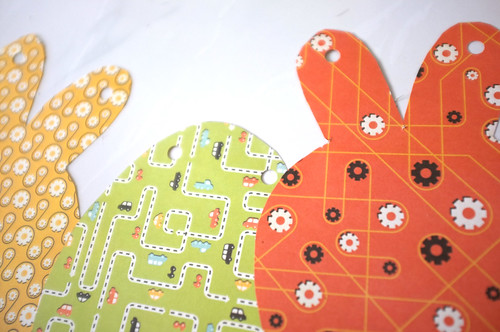
first, i had to make a template for the “flag” part. since it’s for Easter, we decided to make bunnies and eggs. we used a much thicker board so that it’s easier for Aina to trace the template onto the patterned paper.

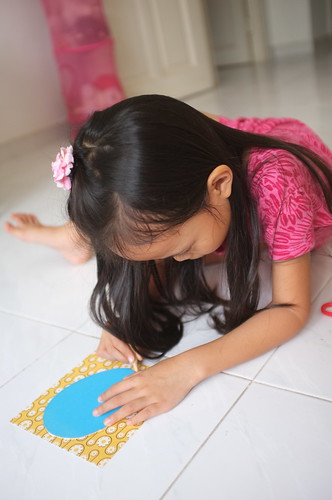
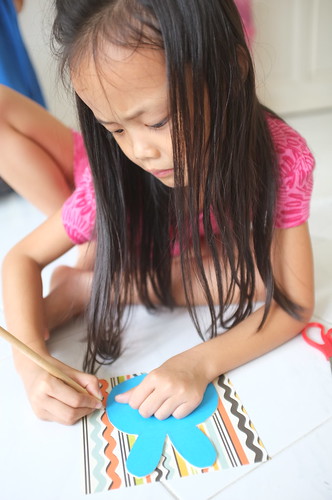
once the templates are done, then it’s all Aina’s work. she started with the egg, because it was easier. first, she traced the template on to the paper using a pencil. this way, we can erase the pencil later. then, she cut it to shape.
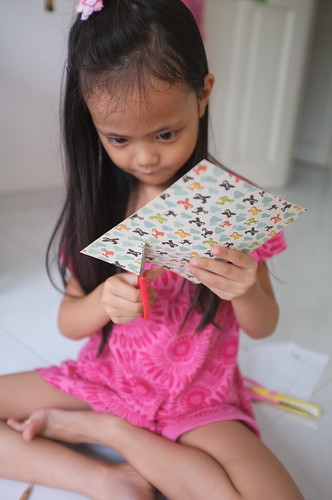
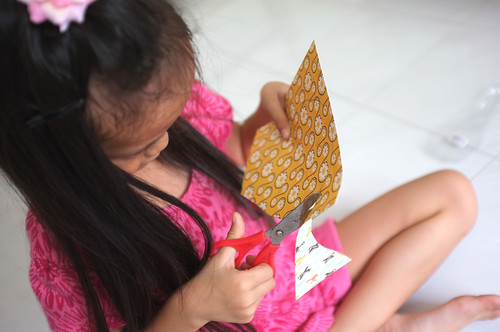
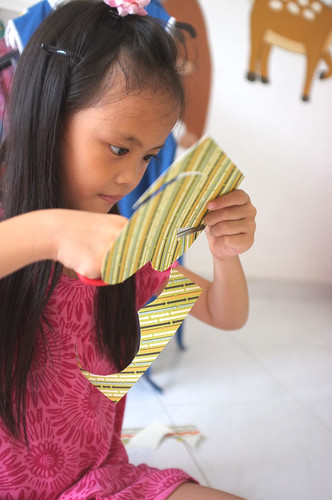
same thing with the bunny, just a bit harder during the cutting because the sharp corner on the ears.
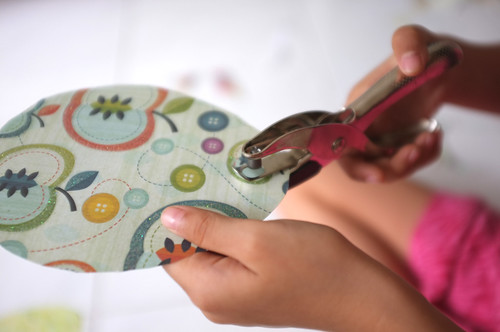
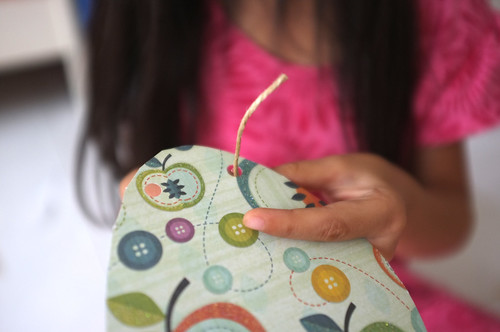
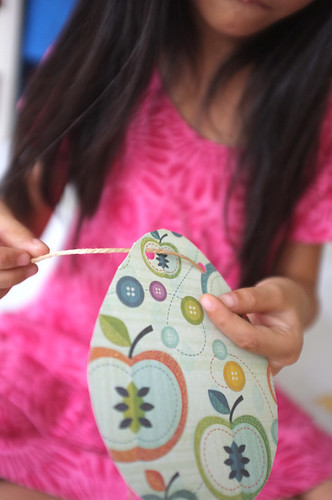
after making enough eggs and bunnies, we put two holes on each of them using the hole-puncher. these holes are for the thread to go through. the eggs got the holes on the top, while the bunnies got them on each of their ears.
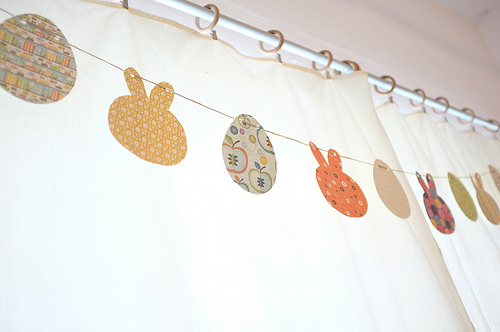
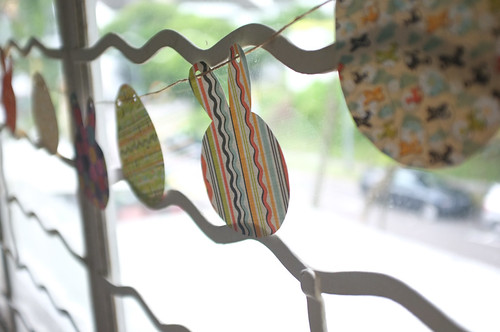
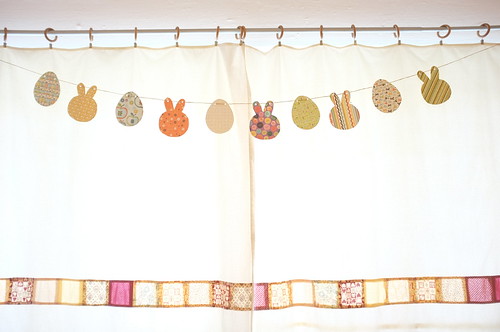
the, we put the twine (or ribbon, or yarn) into the holes, stringing the bunnies and eggs together…
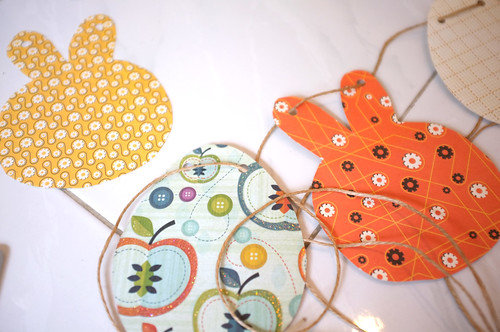
…and VIOLA! it’s done! it is now hanging on aina’s bedroom window…
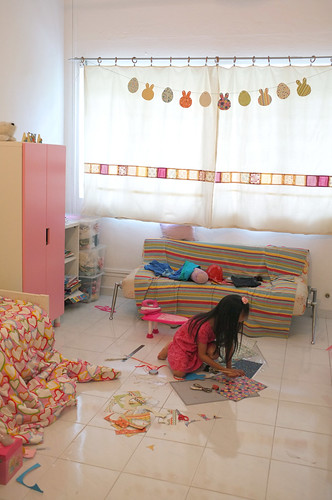
what a messy room!
~ comment (8) ~
Lucuuuuu..
Itu gorden DIY juga yaaa?
(selama ini silent reader, hehehe)
hihihi iya! udah lama banget sih, skitar 7 taun yang lalu. ceritanya ada disini: http://www.avocadolite.com/expiration/archives/001772.php
Lucu dan gampang yah! Bisa jadi ide buat occasion lain juga nih… :D
Itu setelah digantung pada merosot gitu gak, mbak? Kan gak “dimatiin” ya tiap “flag”-nya.
Btw, kalo bolak-balik pasti lebih seru… :D
kebetulan karena talinya pake twine dan kasar, jadi kertasnya ga melorot. kalo pake pita kayaknya melorot deh, jadi mesti dimatiin.
ini bolak-balik kok, keliatan di foto yang pas aina gunting2. jadi kalo mau, bisa digantung di tengah ruangan.
Bagus sekali Aina..
Tuh Oma bilang bagus, popo juga….bagus Aina.